 Let us use `Trace Bitmap` tool of Path toolset to generate vectorized versions of raster images

24 May 2020 - fubar - Sreekar Guddeti
Let us use `Trace Bitmap` tool of Path toolset to generate vectorized versions of raster images
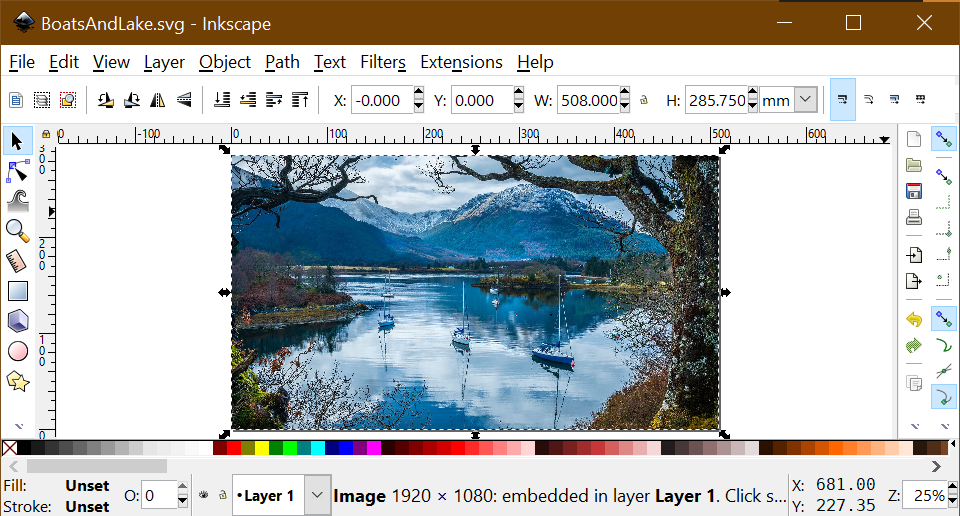
One of the beautiful tools of Inkscape is to generate vectorized versions of raster images formats like .png, .jpg. This is a simple tutorial to demonstrate the workflow. For the demonstration, we will use any of the daily updated Windows Welcome Screen. When we log in to the Windows, the Welcome Screen shows a beautiful landscape and we can vote for the daily update. Depending on our tastes, Windows selects a particular genre for the images. My inclination is towards nature imagery, without the presence of human derived structures or humans itself. Now to access the location where the images are stored is a bit tricky. After following the tutorial on Windows 10 Spotlight LockScreen pictures, I could access my laptop’s welcome screen images. I created a desktop shortcut to the location for easy access in the future. Let’s get started with generating the vectorized version of one of these beautiful curated sceneries.
Firstly import the .png or .jpg into a new Inkscape project. The productivity in using Inkscape is enhanced by using shortcuts. Slowly with experience, one gets used to the shortcuts. For importing, use Ctrl+I.
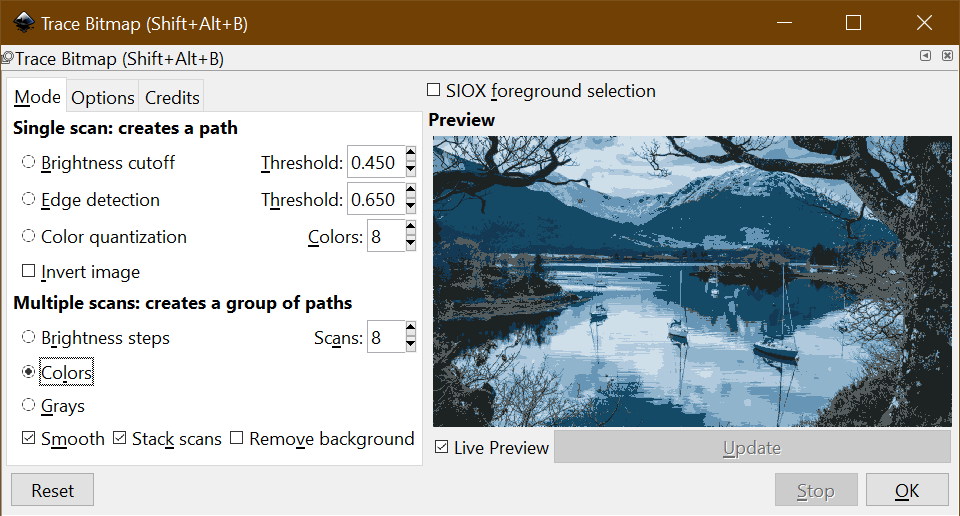
In the Path menu item, select Trace BitMap tool. You have the option of creating single scan or multiple scans. A single scan creates a single path object and multiple scan creates group of paths. Create a multiple scan with 8 reduced colors. The algorithm appropriately chooses the reduced colors from the color spectrum of the image.
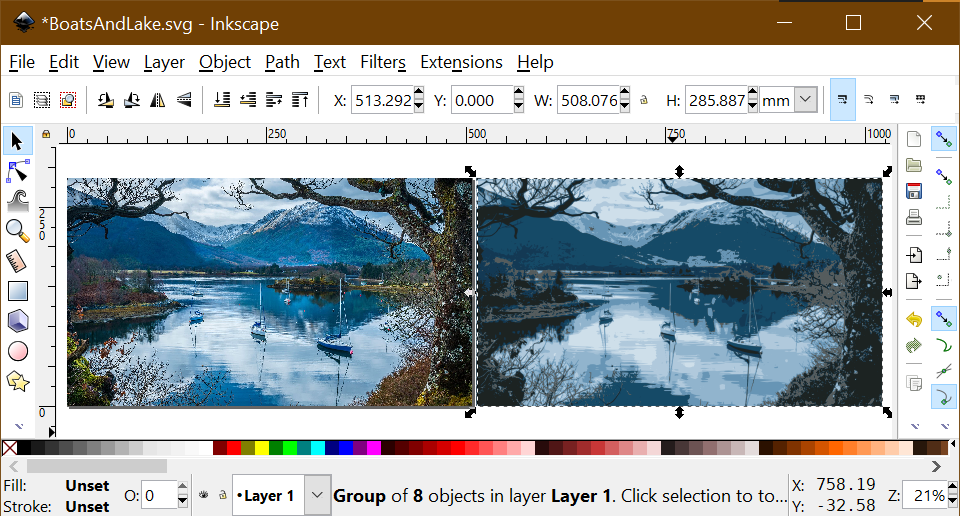
The vector image is a group of 8 paths.
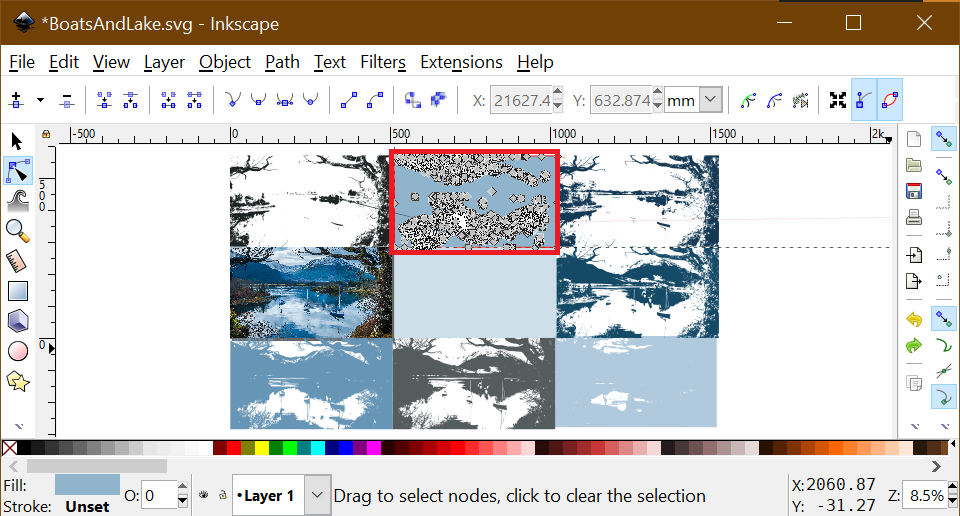
To view the paths, let us ungroup them using the Ungroup tool of the Object menu. The short cut is Shift+Ctrl+G. Note that the vector should be selected first. After ungrouping each of the paths is a background with a reduced color with a clip (What are clips? #TODO)depicting the contour for the corresponding color. So the total vector image is a combination of cascaded contours of reduced colors.
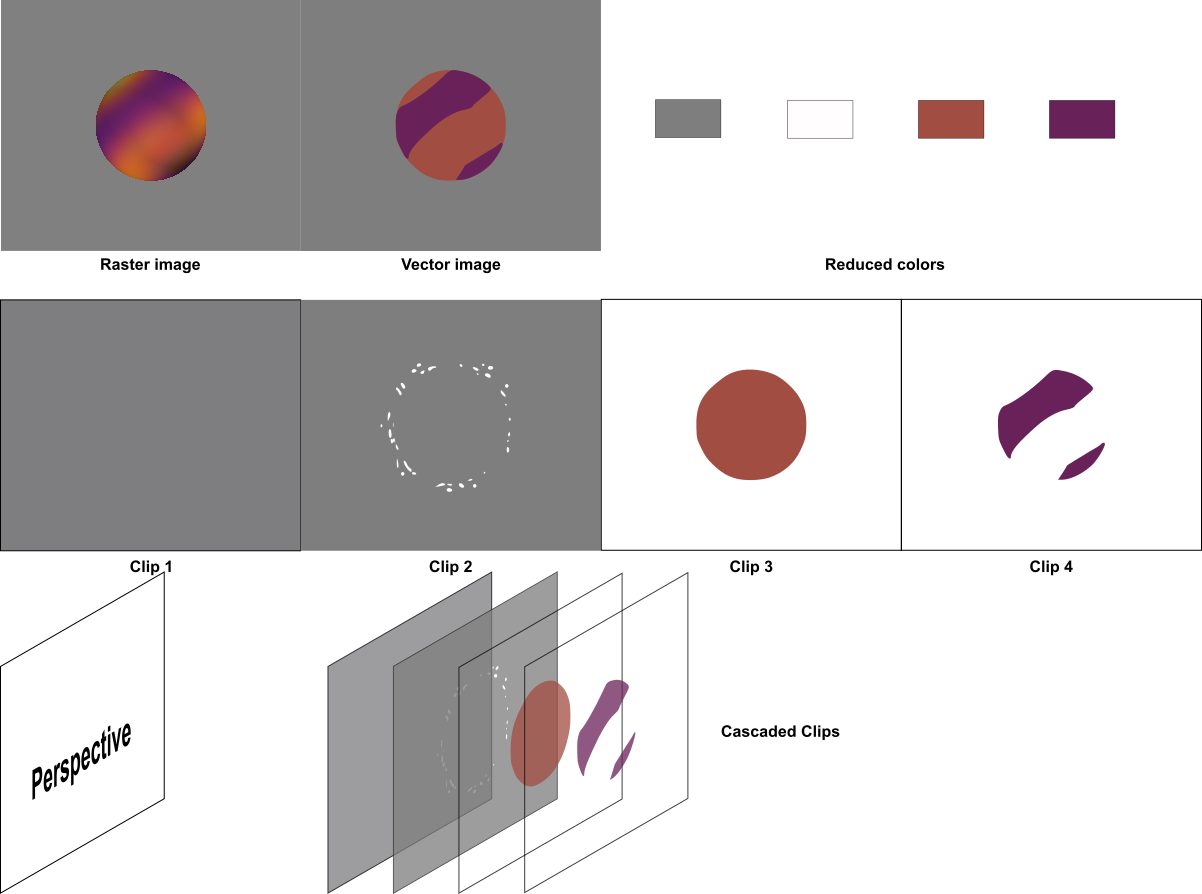
This is more easily understood by taking a simpler raster image. Below depicts the angular part of the orbital of hydrogen atom. This is generated using Mayavi, a python package for 3D visualization. The code is very simple and is explained elsewhere (#TODO write post for mayavi tutorial)
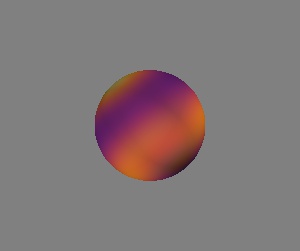
Let us apply the same Trace Bitmap tool and vectorize the orbital with only 4 reduced color. This is shown to the right of the first column. After ungrouping the vector paths and separating the paths, we can see it is made up a cascaded contours as shown in the middle figure. For more clarity, the paths for each reduced color are projected in perspective with subpar opacity which clearly highlights the cascaded nature of the paths as shown in last row. The projection of the paths onto perspective determined by the parallelogram drawn in the last row is done by Perpective tool in Extensions menu item. The tutorial for Perspective #TODO is here.
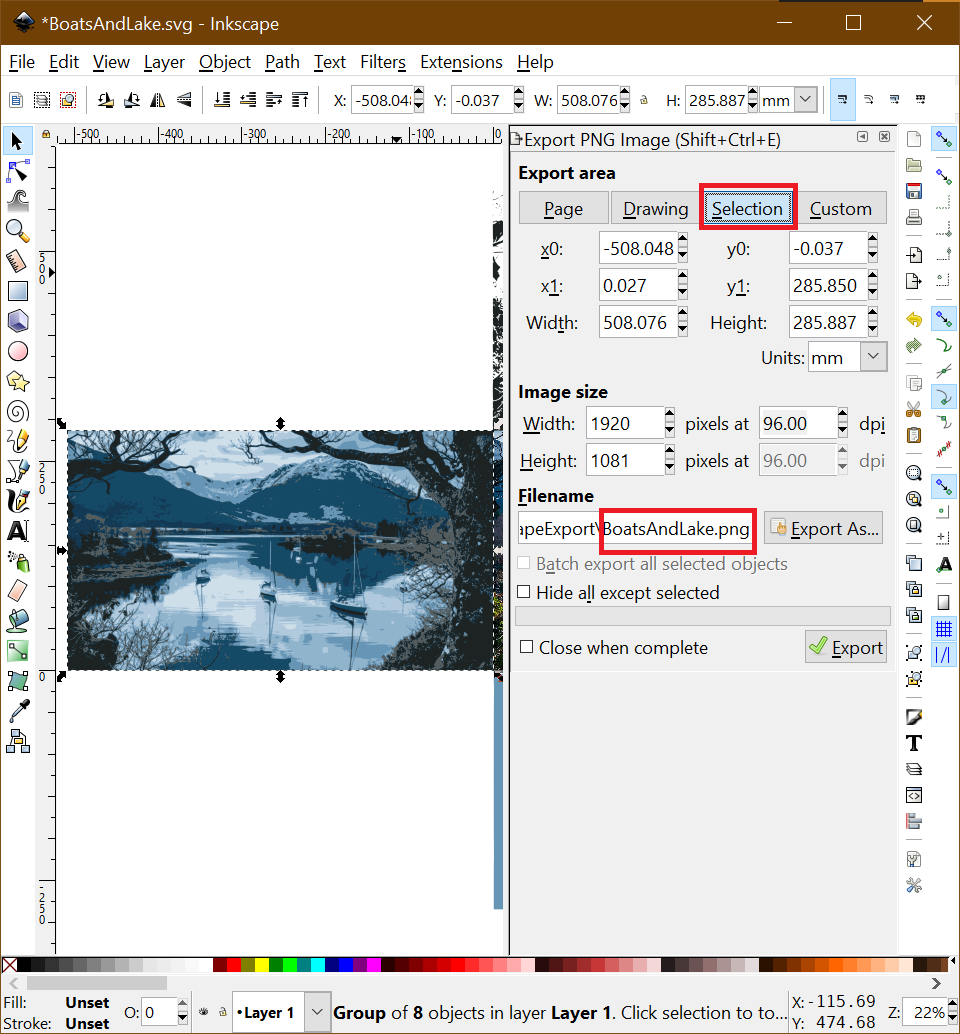
Coming back to the nature scenery, since we have ungrouped the vector, let us select the original raster image again and generate a new vector image. Now select the vector image and let us export the vector image to png. Using Shift+Ctrl-E shortcut. Set the export options like Selection, dpi and Filename.
The final vector image is below.
